Wire Caps & Nuts price list
Last updated Wednesday, Jul 29, 2026


View 22 Offers


Loading...
Last updated Wednesday, Jul 29, 2026
Wire caps and wire nuts are the small, twist-on or crimp-style connectors that keep electrical splices snug, secure, and safe. Think of them as the “handshake” between two or more wires: firm, reliable, and built to last. Whether you’re replacing a light fixture, extending a circuit in a junction box, or tidying up a ceiling fan install, the right connector prevents loose connections, arcing, and potential hazards. They’re color-coded for size, rated for specific wire gauges, and come in a variety of designs—from classic twist-on caps to closed-end crimp connectors and waterproof options. Pick the correct size, install it properly, and you’ll have a professional-grade connection that resists vibration, heat cycles, and time. Not bad for something that fits in your pocket, right?
Good connections are the backbone of any electrical system, and wire caps and nuts deliver serious benefits. First, they provide consistent pressure around the splice, which maintains conductivity and minimizes heat buildup. That translates to fewer nuisance faults and longer component life. Second, they add mechanical strength, so your wires won’t pull out if someone nudges the junction box while mounting a switch or fixture. Third, many options include insulating shells and moisture protection, so your work stays safe even in tricky spots like damp basements or outdoor enclosures. They’re also fast—no soldering required—and suitable for both DIYers and pros when used correctly. Bottom line: if you want clean, code-friendly splices that you can trust, quality wire caps and nuts are the go-to solution.
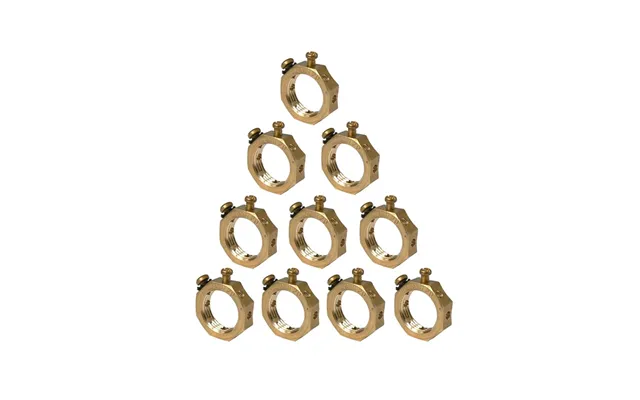
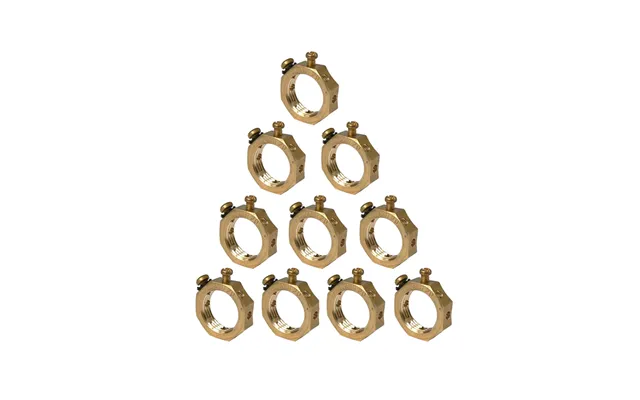
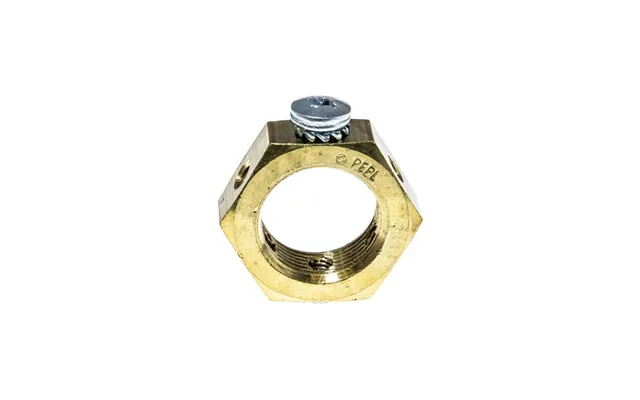
These are the classic connectors most people picture—small, color-coded caps that twist onto stripped copper conductors. Inside the shell is a metal spring that bites into the wire bundle as you turn, tightening the splice and locking the conductors together. They’re available for common gauge ranges like 22–16 AWG and 18–10 AWG, and they’re perfect for everyday jobs: lights, switches, receptacles, and appliance connections. The secret to reliability is matching the size to the number and gauge of wires and twisting until the cap seats firmly with no copper exposed. When properly installed, a twist-on nut delivers a balanced blend of speed, safety, and strength.
Winged nuts are a comfort upgrade. The extended “wings” give your fingers leverage, which is a lifesaver when you’re working in a cramped ceiling box or dealing with thicker gauges. That extra grip makes it easier to achieve the right tension without fatigue. They’re commonly used for multiple wire combinations—say two 12 AWG conductors plus a pigtail—or for tougher solid-core splices. If you’ve ever struggled to torque a standard cap in a tight space, winged versions feel like power steering for your fingertips.
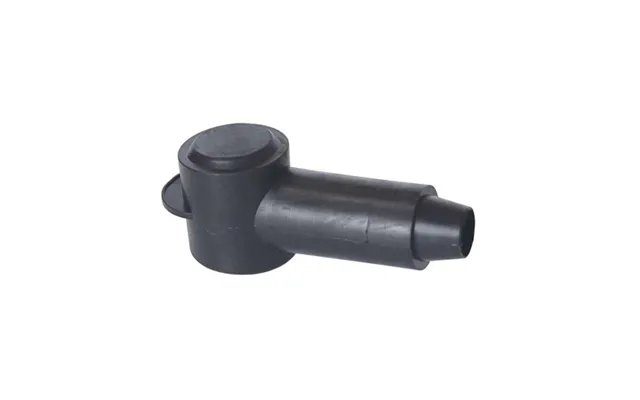
Closed-end caps look like small translucent or opaque shells that fully encase the splice. Instead of twisting, you insert the stripped wires into the cap and use a crimp tool to compress the metal sleeve inside. The result is a permanent, vibration-resistant connection that’s ideal for fixtures, appliances, and locations where you want a tidy, encapsulated splice. Because they’re fully enclosed, there’s no exposed spring, and the profile is often slimmer, which helps in crowded boxes. Just remember: these require a correct-sized crimp and a dedicated tool to get the job done right.
Push-in and lever-style connectors offer tool-free convenience and clear organization. With push-in types, you insert stripped conductors into individual ports; with lever connectors, you lift a lever, insert the wire, and latch it down. They’re especially handy for mixing solid and stranded copper or for frequent maintenance because you can disconnect without damaging the wire. Many are rated for a wide range of gauges and are clearly labeled, reducing guesswork. They cost a bit more per connection but shine when you want clean arrangements, easy troubleshooting, or fast changes down the line.
Working outdoors or in damp spaces? Gel-filled wire nuts and caps use an internal sealant that surrounds the splice, blocking moisture and corrosion. They’re a favorite for landscape lighting, irrigation controls, exterior fixtures, and anywhere condensation might creep in. Look for connectors rated for wet locations and pair them with appropriate outdoor-rated cable. It’s like giving your splice a raincoat—one that stays on all year, through summer thunderstorms and winter chills.
Ceramic nuts are built for heat. If you’re dealing with fixtures that run warm—think certain lighting applications or appliances near heat sources—ceramic bodies resist thermal stress better than standard plastic shells. Their temperature ratings are typically much higher, and they maintain clamping force even when things get toasty. When a job spec calls for high-temp resistance, ceramic connectors are a straightforward, code-friendly choice that prioritizes safety.
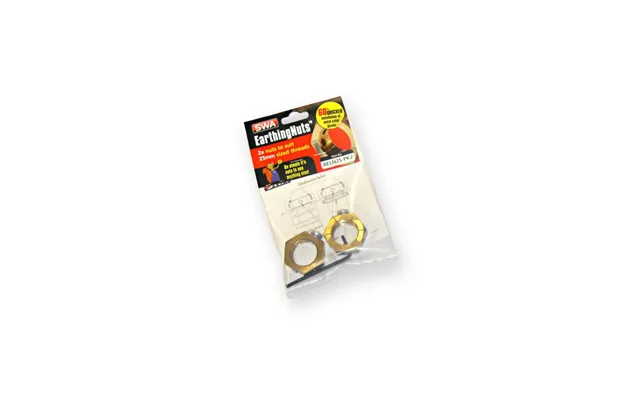
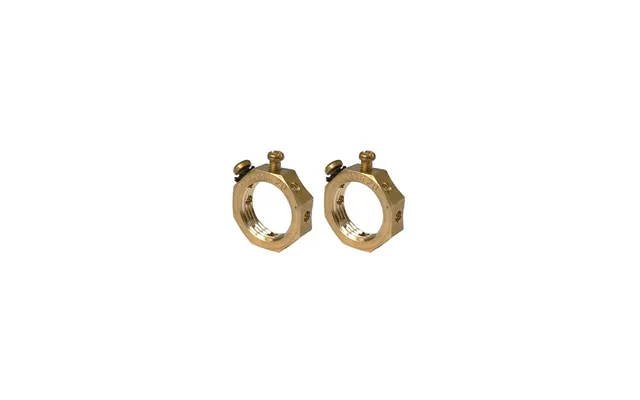
Grounding nuts simplify bonding by including a pigtail, set-screw, or specific design that ties multiple grounds together quickly. They’re often green to signal the purpose and can include features that speed up box bonding. A solid ground path is non-negotiable for safety; using purpose-built grounding connectors helps ensure your system trips breakers properly in a fault, protecting people and property.
Connecting aluminum to copper requires connectors specifically rated for that combo. These typically call for an anti-oxidant compound and a design that resists galvanic corrosion. If you encounter aluminum branch circuits or feeder splices, don’t improvise—use a connector clearly marked for AL-CU. It’s a small detail with big stakes for long-term reliability and safety.
Wire nuts aren’t one-size-fits-all. Each color corresponds to an acceptable range of conductor gauges and combinations. For example, a small cap might handle two 18 AWG conductors, while a larger cap can manage a mix like two 12 AWG plus a 14 AWG pigtail. Manufacturers provide combination charts, and it pays to check them. If the nut is too small, you won’t get full engagement; too large, and the spring won’t grip tight enough. As a rule of thumb, strip the recommended length, pre-twist solid conductors when advised, and test with a gentle pull. Feeling resistance? Seeing no copper? You’re likely in the sweet spot. Using the correct color-coded size reduces heat, prevents loosening from vibration, and keeps your work code-compliant.
American Wire Gauge (AWG) is your sizing language. Lower numbers mean thicker wire—12 AWG is beefier than 14 AWG. Most residential lighting and receptacle circuits use 14 or 12 AWG solid copper, while fixture leads are often 18 AWG stranded. Choose caps that explicitly list your gauge range and the number of conductors. When in doubt, step up to a larger connector only if the chart confirms it can clamp your specific combination.
Each connector has a maximum fill—exceed it and you risk a weak splice or damaged conductors. Also consider box fill: junction boxes have limits on how many conductors can fit based on gauge and device count. Compact connectors or closed-end caps can help when space is tight. The goal is a neat, serviceable box where every splice sits comfortably without cramming or stress.
Start by mapping the environment, the wire type, and the task. Is the location dry, damp, or wet? Are you connecting solid to solid, or solid to stranded? Will the splice face heat or vibration? For quick fixture swaps in a dry ceiling box, classic twist-on nuts are hard to beat. If you’re bundling several conductors and want tidy organization, lever connectors make service work easier. For outdoor landscape lighting, gel-filled caps are the clear pick. And for permanent appliance connections that you won’t revisit often, closed-end crimp caps create a clean, compact splice. Match the connector to the job, not the other way around.
Indoors, standard twist-on or lever connectors usually suffice. Outdoors or in damp spaces, use connectors rated for wet locations—ideally gel-filled or with dedicated sealing. Pair them with weatherproof enclosures and strain reliefs as required. Moisture is enemy number one for copper; seal it out and your connection will keep humming through every season.
Solid copper is common in branch circuits; stranded shows up in fixture leads, fans, and certain appliances. Some twist-on nuts are optimized for solid, while others handle mixed combinations. Lever connectors excel with stranded conductors because the clamping mechanism spreads pressure evenly. Whatever you choose, ensure the rating explicitly covers your conductor types and counts.
When temperatures rise, standard plastic shells can soften or lose spring tension. High-temperature or ceramic connectors maintain grip under heat cycles. Use them near fixtures that run hot or in enclosures that see sustained warmth. Checking the temperature rating is a small step that saves big headaches later.
Great splices start with clean prep. Cut square, strip to the specified length, and remove any nicked strands. For twist-on nuts, align conductors evenly and twist clockwise until the cap bottoms out firmly. For crimp caps, insert fully and use the correct die on a ratcheting crimper to achieve a solid compression. For lever connectors, strip precisely and seat wires fully before locking the levers. Always finish with a tug test on each conductor to confirm a secure grip. If you see exposed copper below the shell, redo it with the proper size or re-strip to the correct length.
Hold wires side by side, tips aligned. Pre-twist solid wires if the manufacturer suggests it, then spin the nut clockwise until tight and springy resistance increases. No copper should be visible; insulation should enter the shell slightly. Give each conductor a firm pull—nothing should budge. If it does, you likely need a larger connector or better alignment.
Insert stripped wires fully into the cap, ensuring all strands make it into the sleeve. Position the crimp tool per the size marking and compress until the tool releases. Inspect for deformation that indicates a proper crimp, then tug-test. For extra protection in dusty or humid spaces, finish with heat-shrink tubing if compatible and allowed for the application.
Strip to the exact length specified on the connector body—many include a built-in gauge. Insert each conductor into a port until fully seated and clamp the lever. Check that insulation stops at the entry with copper fully inside the terminal. Labeling circuits or ports can speed up future troubleshooting, especially in multi-wire bundles.
Use gel-filled connectors or apply an approved sealing method designed for the connector. In outdoor boxes, mount connections upward where possible and provide drip loops so water won’t travel along the cable into the enclosure. After installation, confirm the sealant has enveloped the splice completely—no gaps, no exposed copper.
Safe electrical work means choosing the right components and installing them exactly as intended. Use connectors that are listed for the application, match gauge and count, and never mix aluminum and copper without AL-CU ratings. Avoid twisting too aggressively (which can break strands) or too lightly (which can cause loose connections). Keep splices inside approved boxes with covers, maintain box fill limits, and leave enough slack for future service. When you finish, re-check every splice with a pull test, restore the box neatly, and label where it helps. And always follow your local electrical codes and standards for compliance and safety.
Don’t use an undersized cap—springs can cut into insulation or fail to grab. Don’t bury splices outside junction boxes. Don’t mix conductor types or gauges beyond what the connector supports. And please skip electrical tape as a substitute for a proper connector—it’s not a mechanical fastener and won’t pass muster when things heat up or vibrate.
If you’re dealing with aluminum branch circuits, complex multi-gang boxes, signs of overheating (brittle insulation, darkened copper), or circuits you don’t fully understand, it’s smart to consult a licensed electrician. Expertise and test gear can surface hidden issues before they become problems.
Wire caps and nuts show up everywhere—quietly doing essential work. From lighting to outdoor circuits, the right connector keeps electrons on the straight and narrow. Below are everyday scenarios where smart choices pay off in reliability and safety, without slowing down your project timeline.
Fixture leads are often 18 AWG stranded connected to 14 or 12 AWG solid in the ceiling box. Choose a connector rated for mixed gauges and types. Lever connectors excel here, offering tidy grouping and easy future swaps, but classic winged nuts work great too when sized properly.
Fans introduce vibration. Winged nuts or high-grip twist-on caps keep splices tight over time, especially on the motor leads and light kit connections. Double-check your support box and leave enough slack to service the fan without stressing the splices.
Use pigtails to connect multiple conductors to a single device terminal and join the pigtail with a correctly sized nut. This reduces clutter at the device and makes future replacements simpler. Keep grounds bonded with a dedicated grounding connector for a solid fault path.
For thermostats, doorbells, and control lines, smaller connectors or lever blocks that handle 22–18 AWG are ideal. Low-voltage doesn’t excuse sloppy splices—poor connections can cause intermittent behavior that’s a pain to diagnose later.
Moisture, soil, and temperature swings demand gel-filled, wet-rated connectors. Make splices above grade where possible, inside weather-resistant housings, and provide strain relief. A good waterproof splice saves you from mysterious flickers after the first hard rain.
Prices and features vary widely across connector types and brands. Some offer better springs, clearer labeling, or broader gauge ranges; others include handy extras like built-in strip gauges or color-coded levers. To cut through the noise, use a comparison site like ZoneOffer to line up options side by side across multiple retailers, check real-world reviews, and spot genuine discounts. Since ZoneOffer isn’t a store, you can compare listings neutrally and click through to retailers with the deal or bundle that fits your project. Pay attention to pack sizes (small contractor boxes vs. large assortments), ratings (temperature, wet location, AL-CU), and included accessories. In many cases, spending a little more per connector can save time in installation and troubleshooting—value that’s hard to beat.
A splice that looks perfect on day one can degrade if it faces heat, moisture, or vibration it wasn’t designed to handle. Choosing connectors that match the environment is half the battle; the rest is technique. Use proper strip lengths, avoid nicking strands, and keep splices stress-free inside the box. For outdoor or damp areas, seal thoroughly. For heat-prone spots, choose high-temperature or ceramic designs. Over the long haul, these choices reduce resistance creep, limit thermal cycling damage, and keep your circuits steady and safe.
Wire caps and nuts may be small, but they’re mighty. Pick the right type, size it correctly, and install it with care, and you’ll have dependable connections that stand up to time, temperature, and daily life. From classic twist-ons to lever connectors, from gel-filled outdoor caps to ceramic high-temp nuts, there’s a perfect match for every task. Compare smart, buy once, and wire with confidence—your future self (and your circuits) will thank you.